All you need to make a Christmas wreath is some foraged materials and a little know-how. But with a few careful choices, you can create an astronomy-themed wreath by utilising a planetary colour palette in your festive decorations.
As planets are (generally) round, they’re the ideal subject matter for a wreath. Jupiter’s colours work well for a Christmas wreath, which means you’ll need to gather cream and brown materials, such as bracken, ferns, dried flowers and grasses.
And of course, you’ll need something red to signify the Great Red Spot – a large anticyclonic storm that’s been swirling in Jupiter’s atmosphere for centuries. You could use a hydrangea head, poinsettia or achillea, which you may still be able to find in your garden.

If you want to give your wreath an Earth theme, look for green, blue and white foliage. Alternatively, you could use red and orange foliage if you decide to base your wreath on Mars.
Deciding on a colour palette is a good starting point, but highlighting distinguishing features, such as the Great Red Spot on Jupiter or the rings of Saturn, is a great way to make your wreath stand out from the crowd.
You can find plenty of construction materials outside: berried ivy, eucalyptus, ferns, and hawthorn work brilliantly for wreaths, and you might also still have things in your garden that you can add. Think about the look of your wreath before foraging and there’ll be no need to waste anything. If you want more wreath ideas, head over to Gathered for a round-up of the best winter wreath ideas.
If you’re planning on using dried flowers and grasses, you’ll need to allow a few weeks to let them dry, however, most will dry into the wreath – so you can work with fresh materials knowing they’ll dry out over time.
What you’ll need to make a Christmas wreath
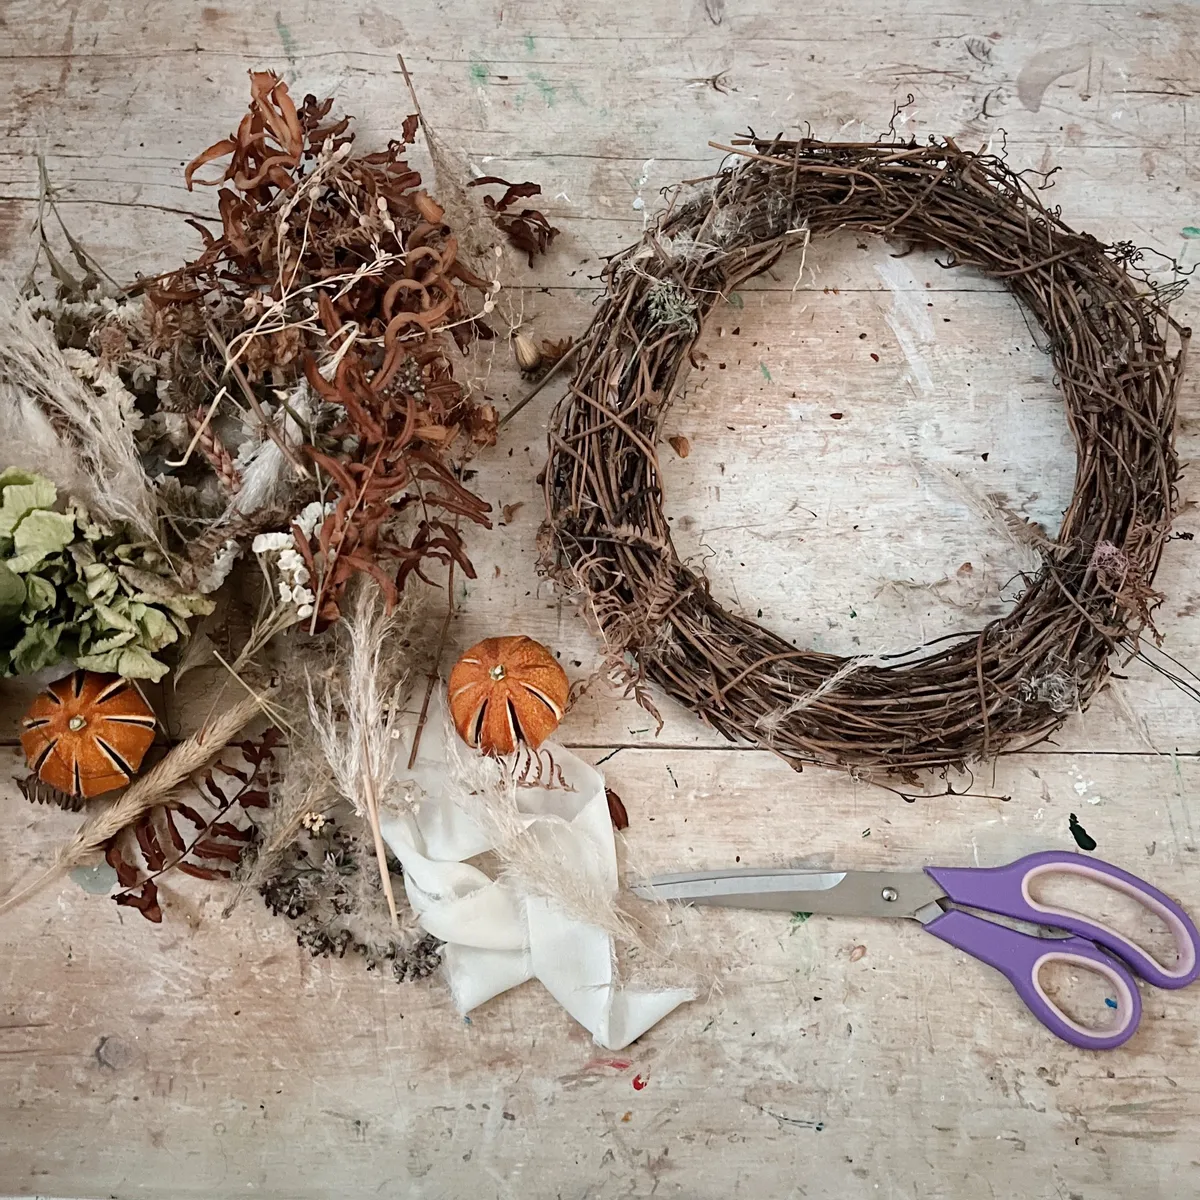
- Rattan base
- Wire
- Scissors
- Selection of cream, brown and red foliage
- Dried oranges
- Dried hydrangea heads
- White statice flower (or similar)
- Something red to represent the Great Red Spot
- Ribbon
Step 1: Build up the base
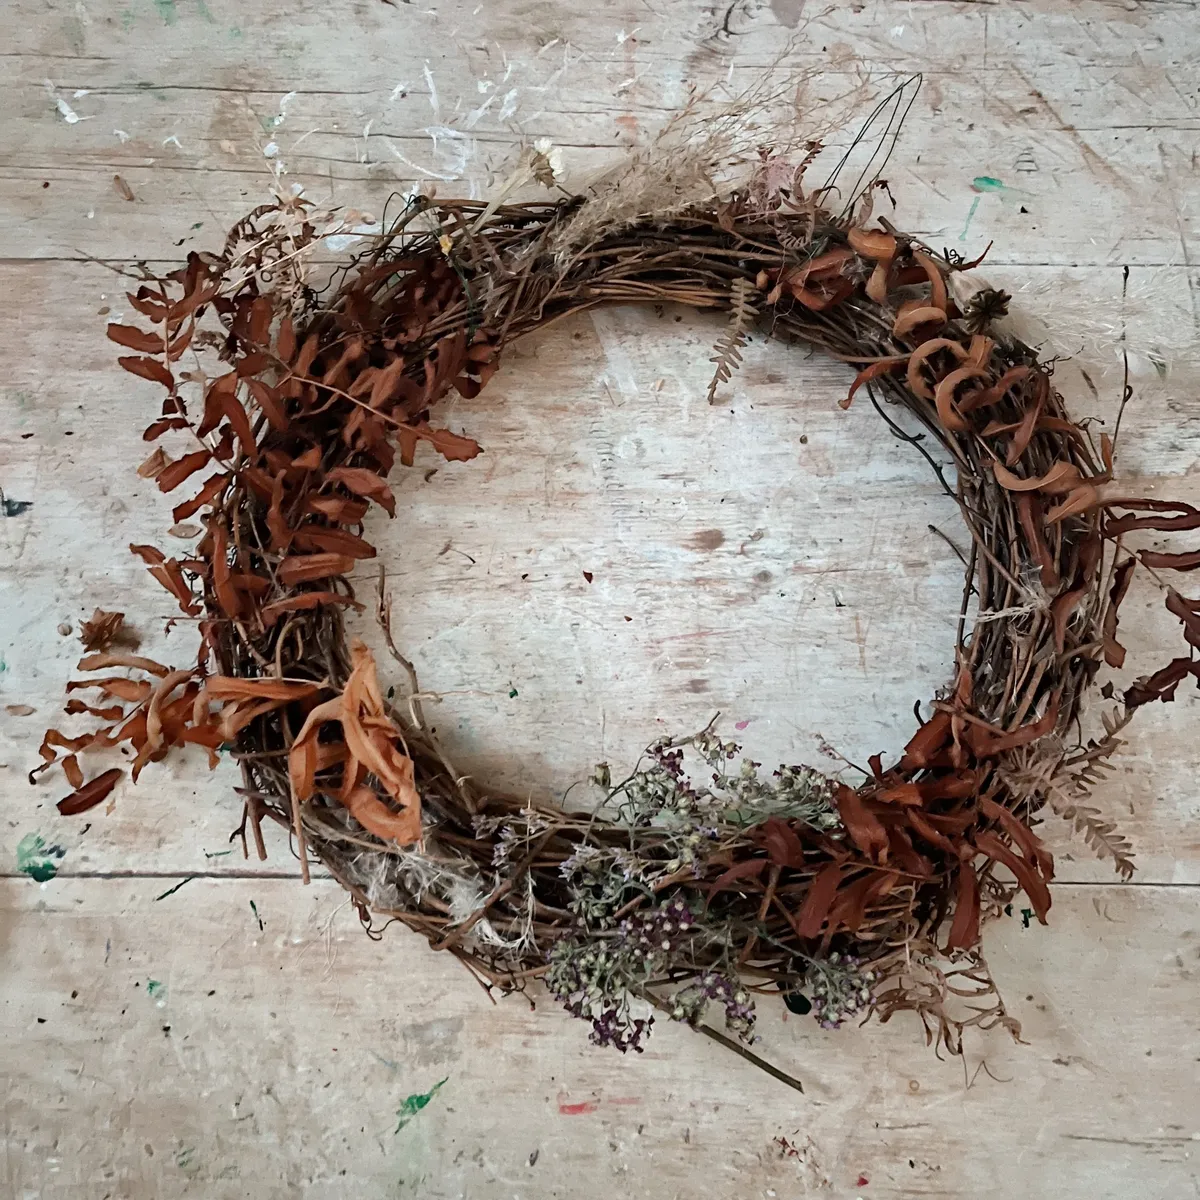
Collect some brown foliage. Weave the ends of the foliage into the rattan base, securing the foliage with wire if needs be, and work your way around the wreath. Position your foliage so that it all faces the same direction, fanning it outwards slightly as you do so, as this helps provide both balance and movement.
Step 2: Add more Jupiter-coloured foliage
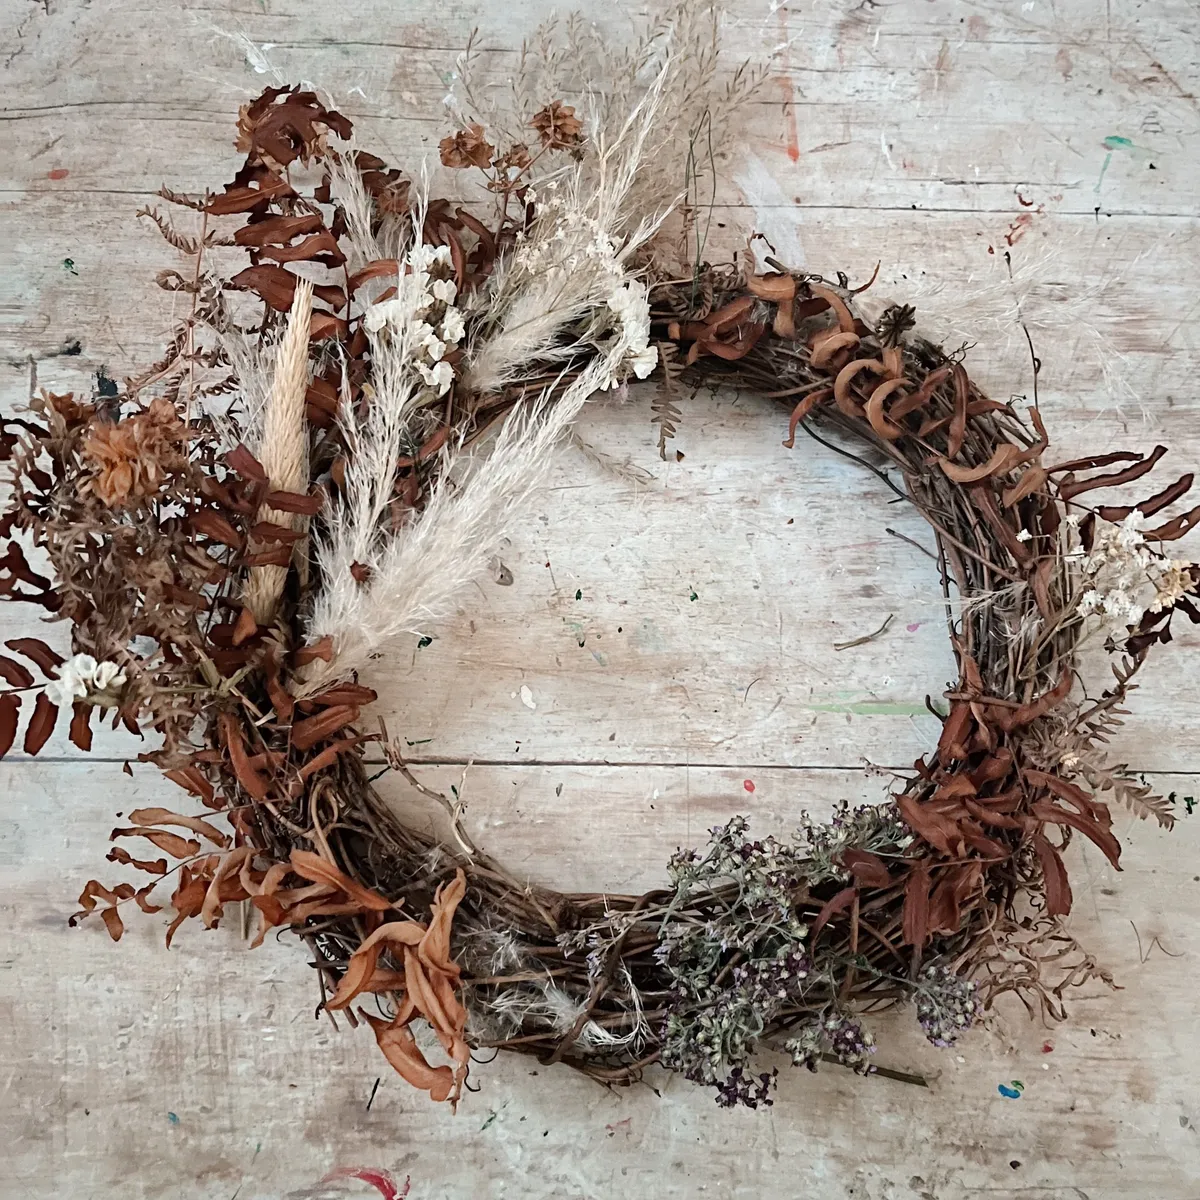
Begin to thicken up the left-hand side by adding in more grasses and bracken. Try to vary the colours to represent the famous stripes on Jupiter, as well as give your wreath some depth. Like before, weave the ends of the foliage into the base, and secure it with wire if the foliage feels loose.
Step 3: Add mini-Jupiters

Still working on the left-hand side, attach your dried whole oranges. These have a lovely stripey effect, which helps to add colour and height to your wreath.
Step 4: Fill in the gaps
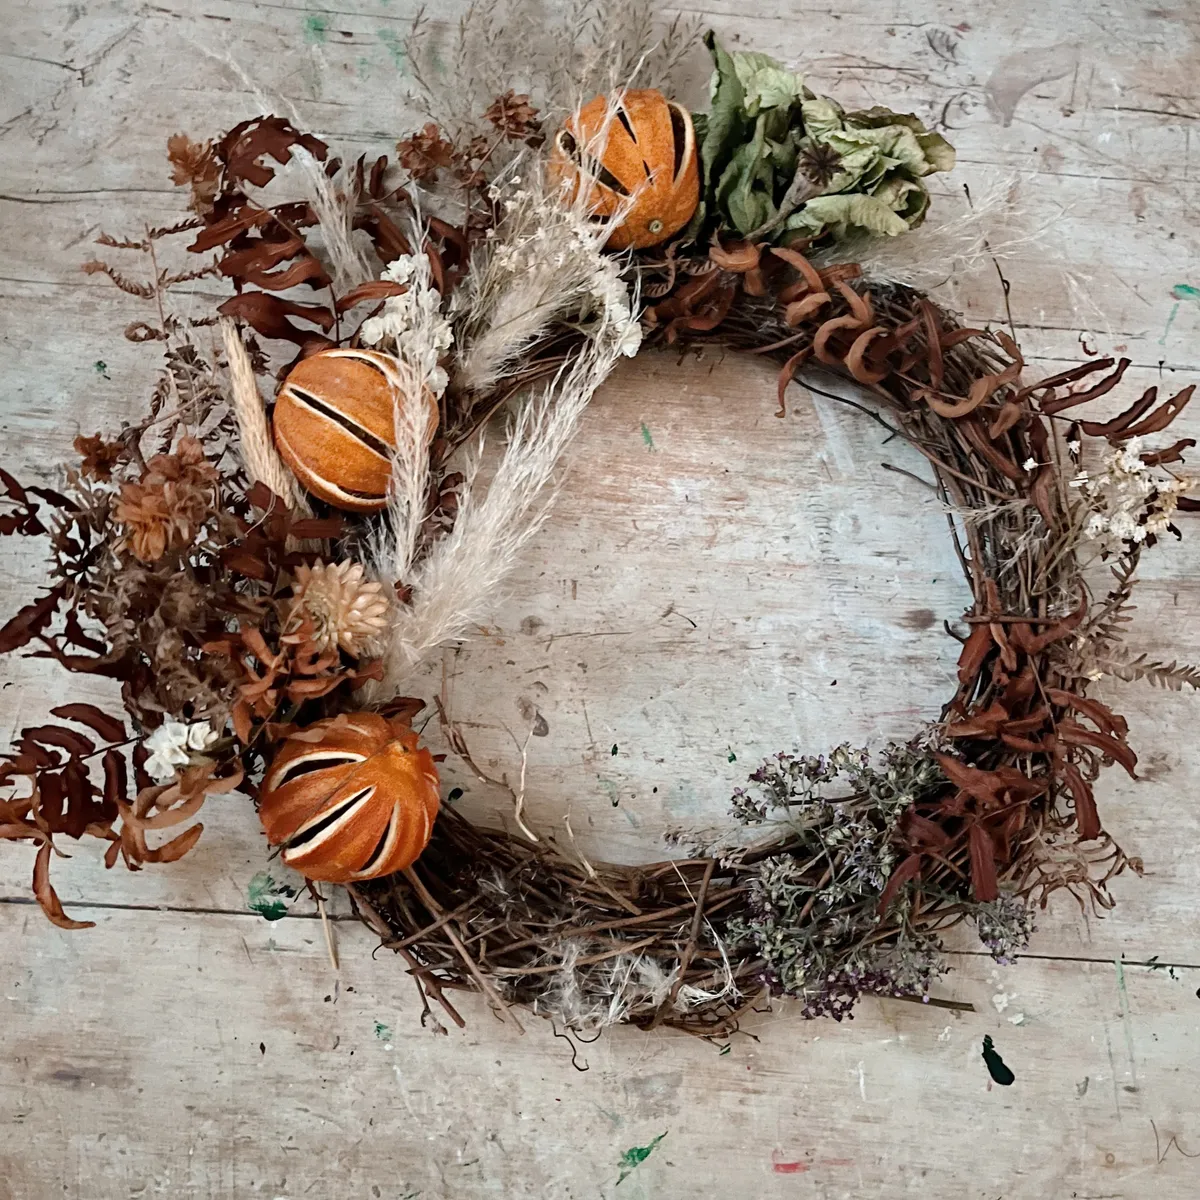
Fill in any gaps between your oranges so they look like they’re nestled into the wreath, rather than sitting on top of it. Use a combination of brown and cream foliage to emphasise the colours of Jupiter.
Step 5: Create aurora at the north and south poles

NASA’s Voyager 1 space probe discovered auroras at the north and south poles of Jupiter, back in 1979. So, to represent the auroras of the planet, use a white statice flower (any white flower or berries will do) and add clusters at both the top and bottom, cutting the flower stems short. This enables you to poke your flowers into the base, and have them sat facing outwards.
Step 6: Add a Great Red Spot

Finally, use the other materials to feather around the left-hand side and into the right, to finish off the main bulk of the wreath. The last thing to do is to add the finishing touch – the Great Red Spot in the bottom-right.
The finished Jupiter-inspired wreath
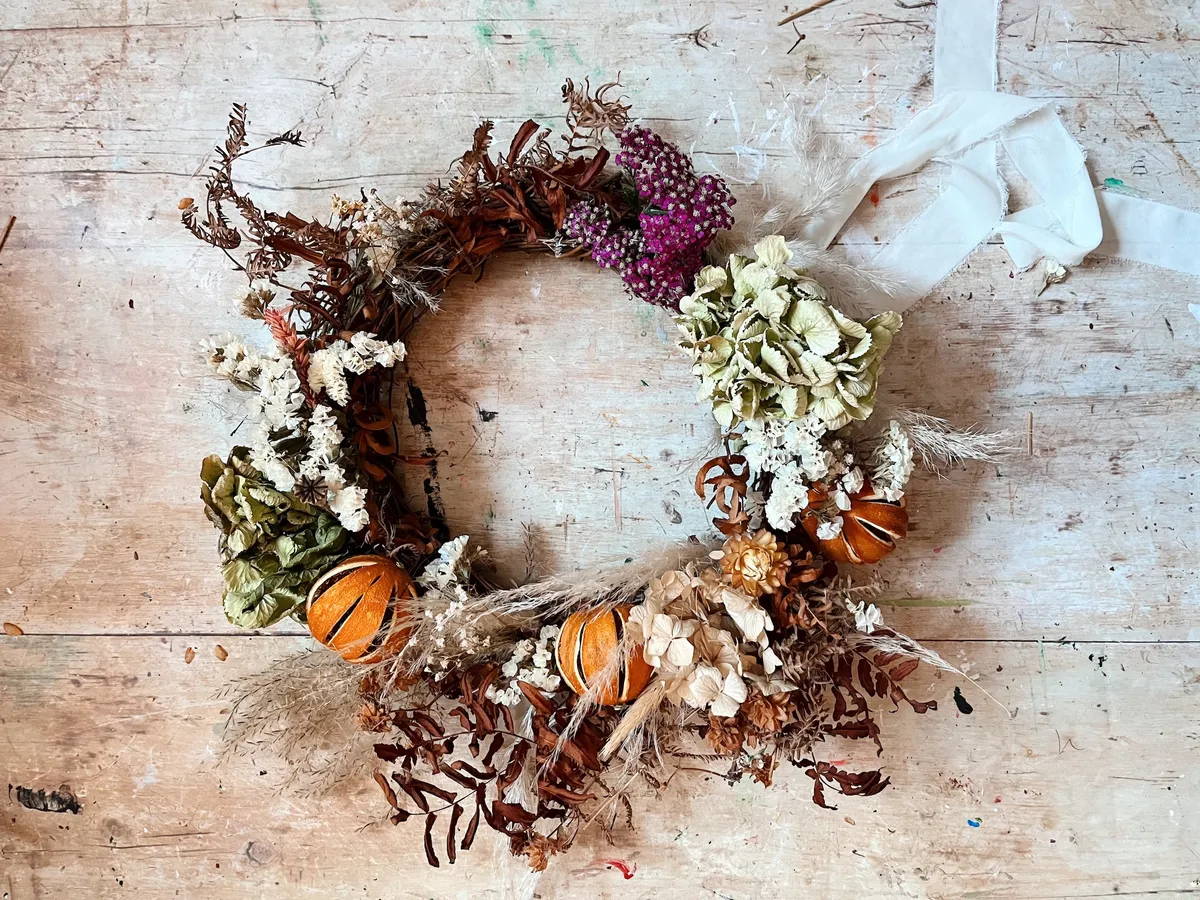
Tie on a ribbon and your Christmas wreath ready to hang and celebrate the season, with a bit of science thrown in to boot.
Discover more DIY ideas: