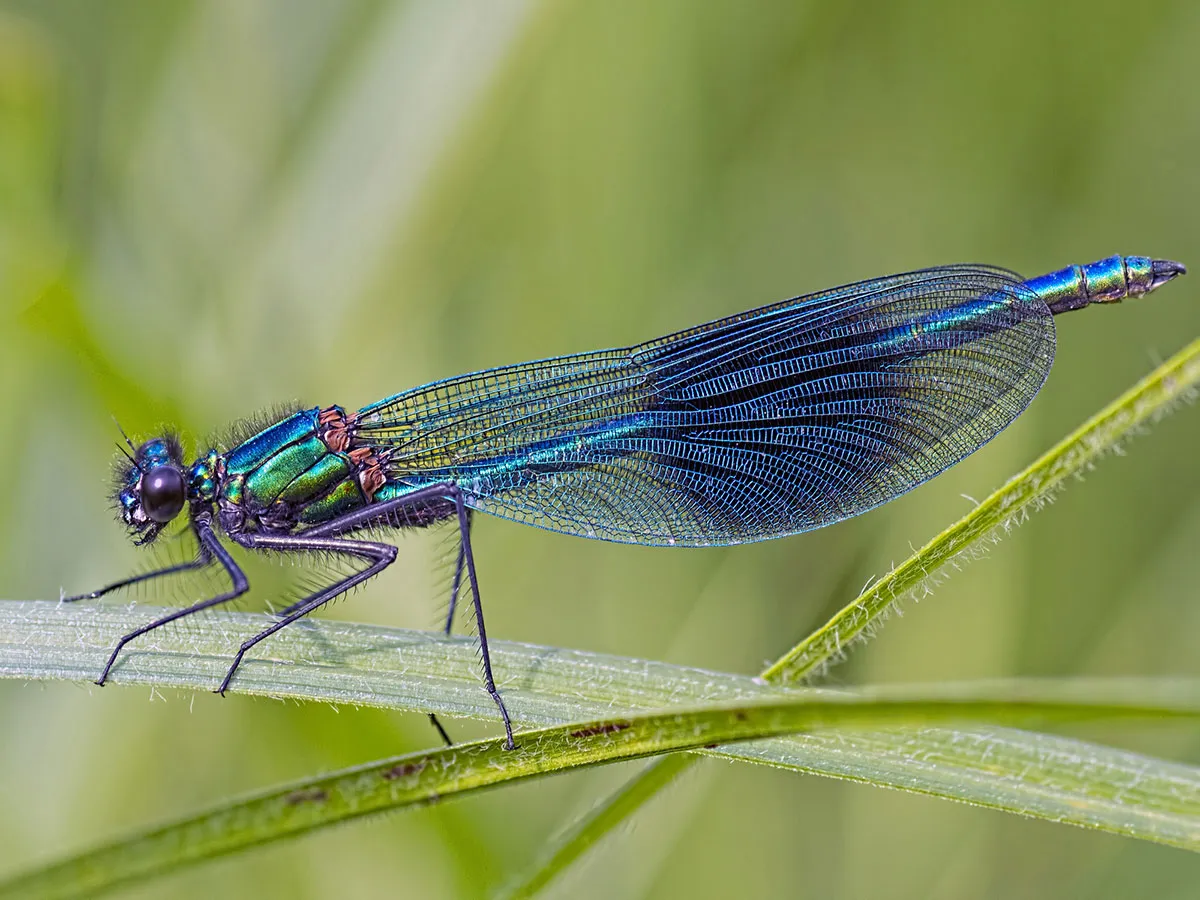
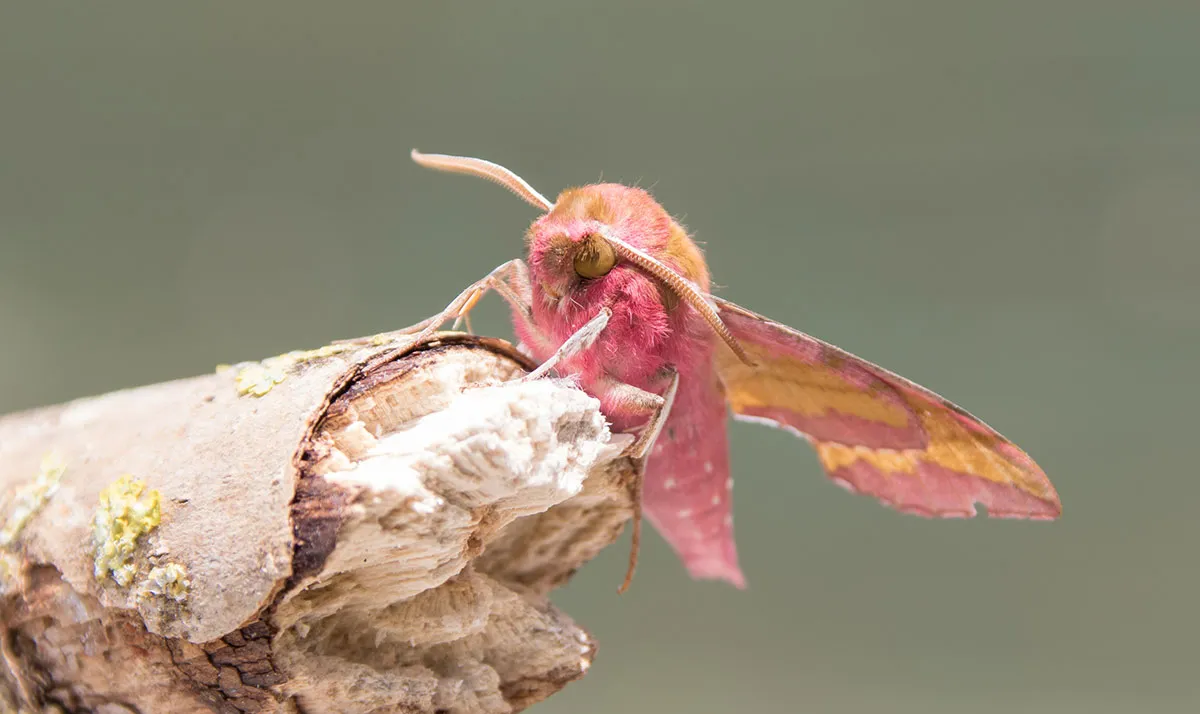
Macro photography is the perfect way to reveal the Lilliputian world of insects that exists right under our noses. Creepy crawlies look incredible when photographed close-up, not least because details that are often impossible to see with the naked eye are suddenly revealed in all their splendour.
What is macro photography?
Macro photography refers to a genre of photography where small subjects are captured on the camera sensor at a 1:1 ratio. This simply means that an insect that’s 1cm long, for instance, will be reproduced on the camera sensor at 1cm long. And once printed or viewed on-screen, it will become much larger.
There are several options for shooting close-up images ranging from using the macro feature in your smartphone camera, all the way to using a dedicated macro lens for your DSLR or mirrorless camera. So, we’ll take a quick look at some of the options available before taking you through the techniques and camera settings you can use to capture amazing insect images on any budget.
Kit for macro photography
Use your smartphone
Most of us have a smartphone, and for many people, their smartphone camera is the only camera they own and use. While this won’t provide the image quality and lens options available with DSLRs and mirrorless cameras, smartphones offer a wide range of shooting modes. These include a ‘macro mode’ that allows you to focus incredibly closely on tiny subjects including insects and flowers, so smartphones are perfect for beginners and nearly always to hand.
Shoot with a kit lens
A kit lens is a lens that often comes with your camera and will typically be 18-55mm for APS-C cameras, which is the most popular format for beginners and enthusiasts. While these lenses won’t allow you to obtain a 1:1 macro ratio, most can focus as close as 20cm away from the subject you’re shooting. To get as close to the subject as possible, zoom the lens to 55mm and position the camera as close as you can for autofocus or manual focus to work.
Get closer with auto extension tubes
Extension tubes are rings that are attached between the camera and lens to increase the distance between the rear lens element and the camera sensor. This in turn allows you to focus closer to subjects.
Auto extension tubes maintain contact between the camera and lens so that the aperture can be changed, light metering works and so autofocus can be used. Auto extension tubes come in sets of two or three and must be the correct lens mount for your camera.

Enjoy the simplicity of close-up filters
Close-up filters screw onto the front of your lenses to reduce the focus distance between the lens and the subject. They come in sets or individually with dioptre values from +1 to +10. Dioptres increase the magnification capability of your lens kit, essentially acting like a magnifying glass for your lens. The +10 filter provides a 1:1 macro ratio, and lower-value filters can be stacked to increase magnification.
Just make sure that you buy close-up filters with the same filter thread size as the lens you intend to use them with so they can be attached. This can often be found on the rear of the lens cap.
Invest in a macro lens for the best image quality
If you’re serious about macro photography and would like to achieve the best image quality with the ultimate convenience, then a dedicated macro lens is a must. These lenses allow you to capture subjects at normal distances or close-up to achieve a 1:1 ratio.
And since they’re optimised to capture the fine detail of minuscule objects, image quality is fantastic. This is the most expensive close-up lens option, and the most versatile focal lengths for these lenses are 90mm and 105mm.
How to take great macro photos
Find your subject
A great time of day for insect photography is in the early morning, because insects are less active when it’s cooler. Of course, you can shoot throughout the day and your back garden or local park are great locations, but insects will move around faster during the warmer parts of the day.
Flowers and foliage on plants and trees are the perfect places to look for flying insects. And those plants that provide a popular food source, such as buddleia, will always be teeming with life.

Set up your camera
Whether you’re shooting with a macro lens, auto extension tubes or close-up filters, set the camera to ‘aperture priority mode’ with the aperture set to f/8. You’ll need a fast shutter speed if you’re holding the camera in your hands, so set ISO to 400 unless it’s a particularly bright day where ISO 100 may suffice.
When shooting close-up, even the tiniest camera movements are amplified so keep an eye on the shutter speed the camera sets – this should ideally be 1/250s or faster.
Consider focus and composition
A tendency when shooting close-up/macro photography is to fill the camera frame with the subject, but this isn’t always necessary. Leave space around the subject to show the environment and to provide a sense of context.
And when it comes to focusing, switch the lens to manual focus, turn the focus ring to the closest focus distance, then gently move the camera backwards and forwards a tiny amount while looking through the viewfinder until the insect looks sharp and then take the shot.
Read more about photography: