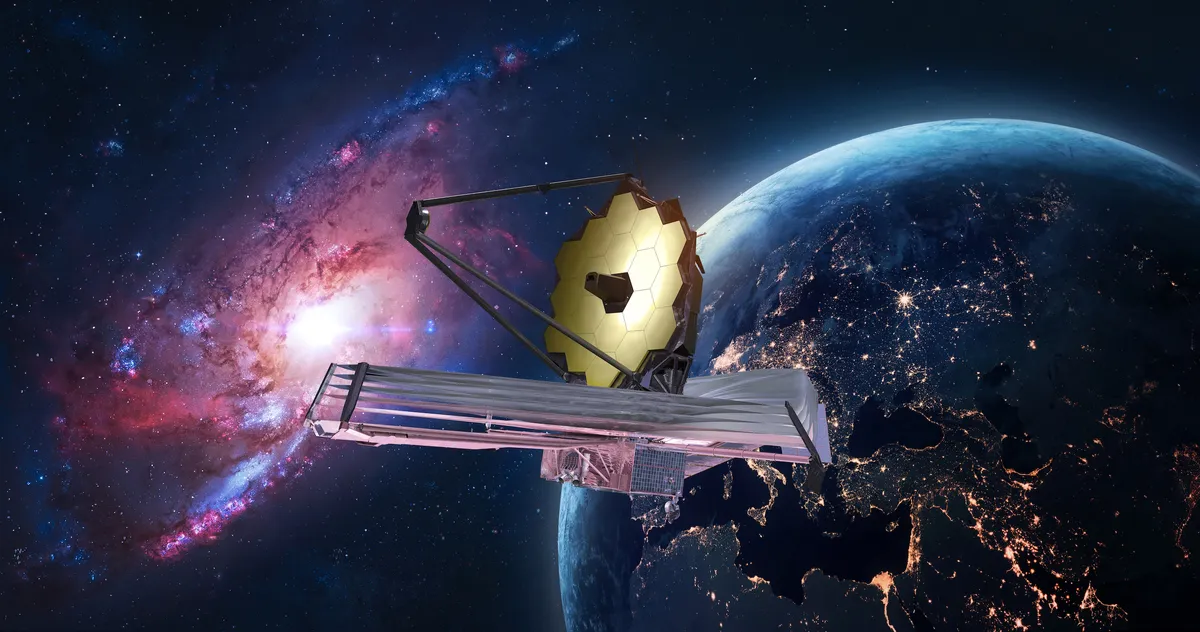
The James Webb Space Telescope (JWST) was launched on Christmas Day 2021, so why not celebrate its one year in space with your own handmade version? You don’t need much in the way of materials, and it’s a fun project that won’t take much time.
You can make a single ornament threaded with ribbon, or string several into a chain to make a JWST garland. If you’re looking for a way to spice up your bauble, how about replacing the gold card with one of the incredible photographs from the JWST itself?
Did you know?
- JWST’s primary mirror is made up of 18 hexagonal segments, each coated in a thin layer of gold. The total gold is a little over 48 grams, around the same size as a golf ball.
- The 6.5m-diameter mirror is the largest ever launched into space.
- It’s a telescope of extremes: The side facing the Sun is a toasty 85 degrees C, and the side facing space is a frigid -233 degrees C!
What you’ll need
- Templates
- Scissors or a craft knife
- Gold card
- Black card
- Metal ruler
- PVA glue
- Hole punch
- Grommets
- Ribbon
How to make your own JWST bauble
Step 1
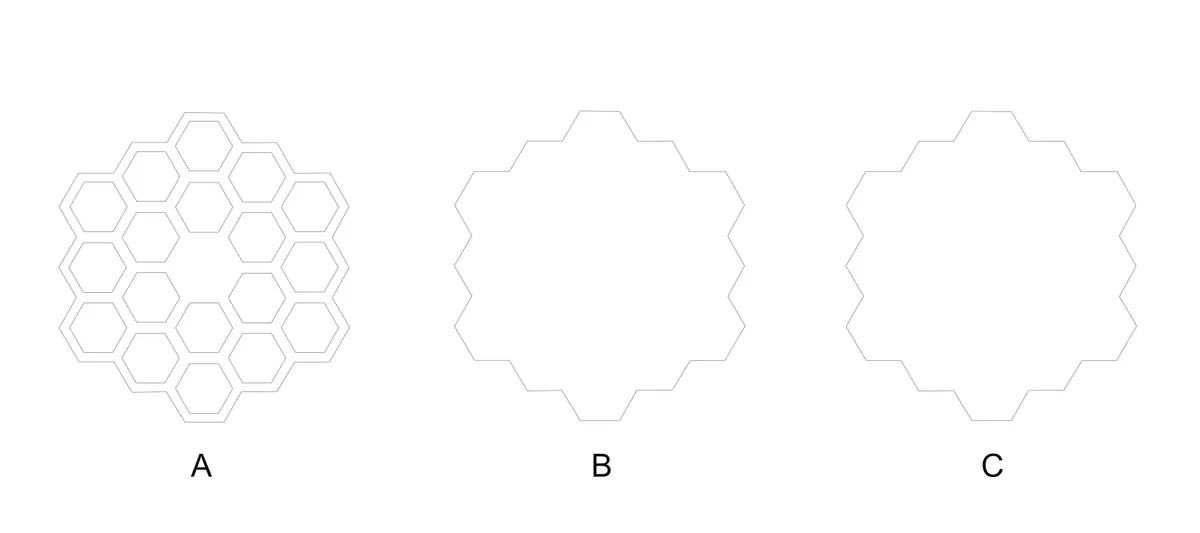
First, download and print the templates from bit.ly/JWST-bauble. There are three pieces that make up this JWST ornament, and need to be printed on A4 paper:
- The front grid (A)
- The primary mirror (B)
- The back (C)
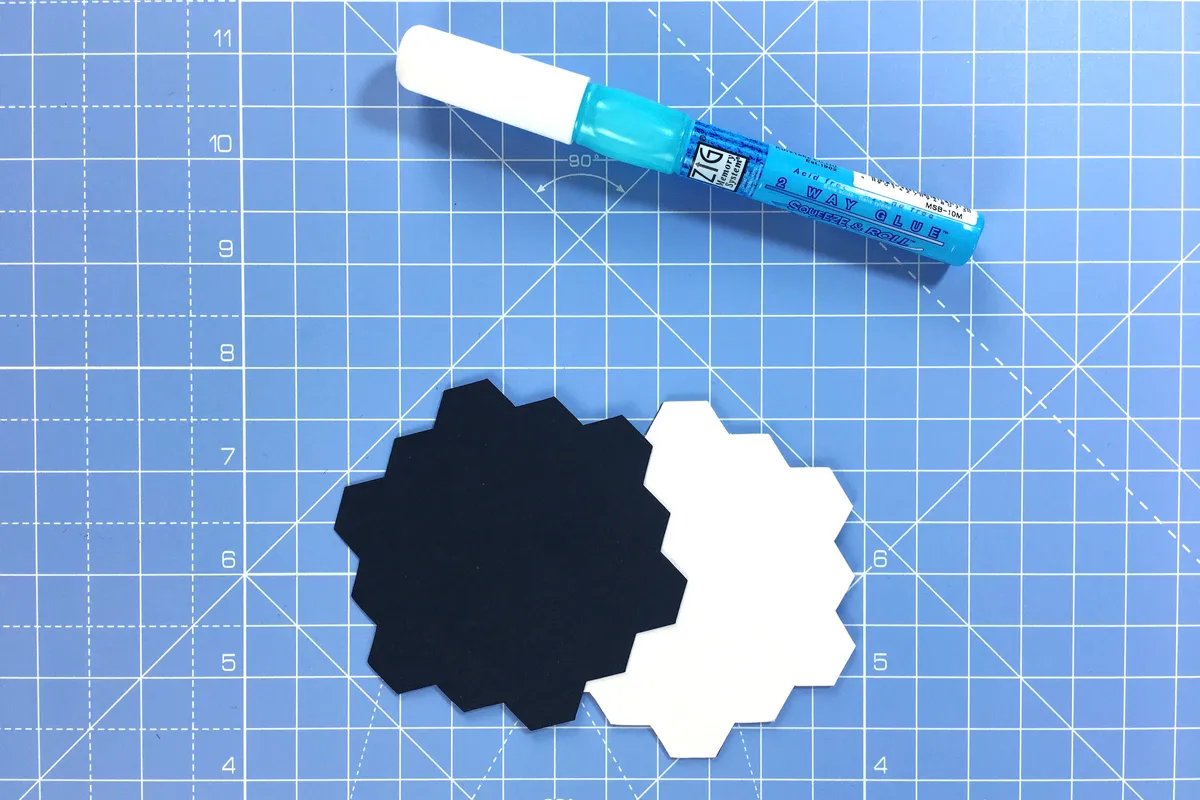
Step 2
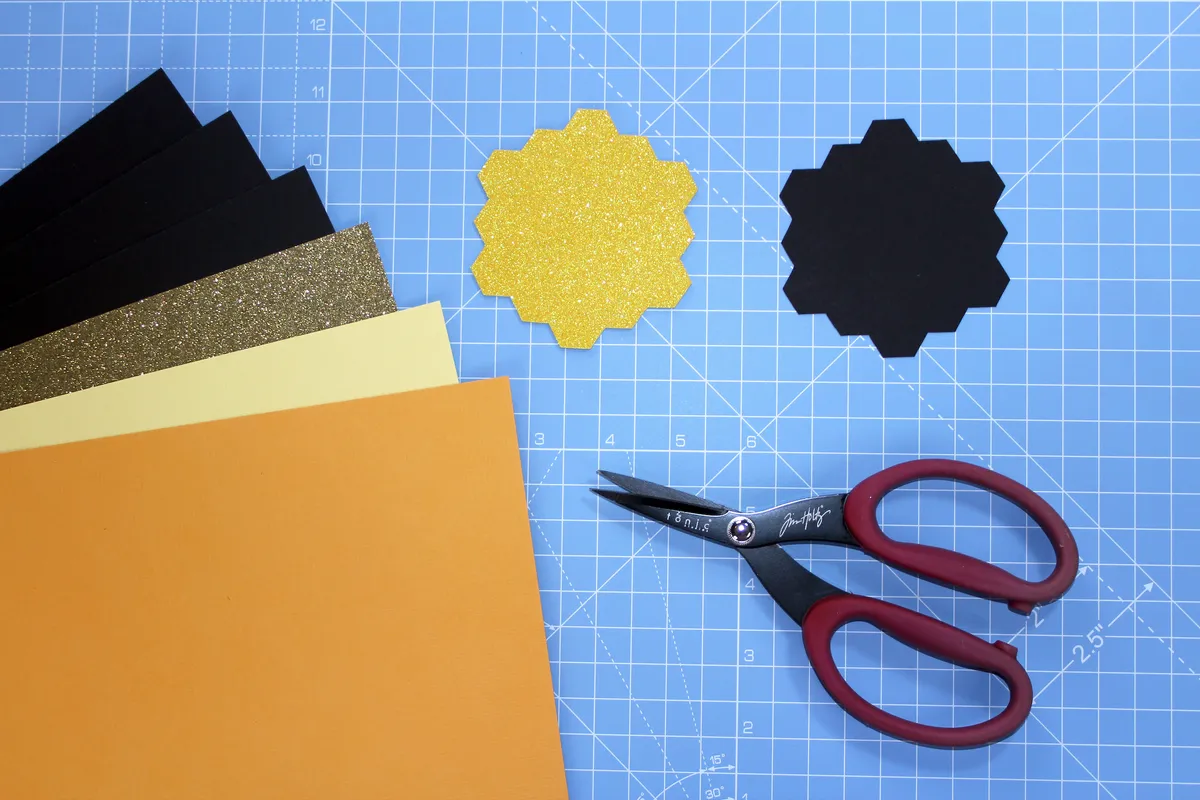
Cut out the templates for B and C using scissors or a craft knife. Use the templates to cut B from gold card, and C from black card, for the back of the bauble.
Step 3
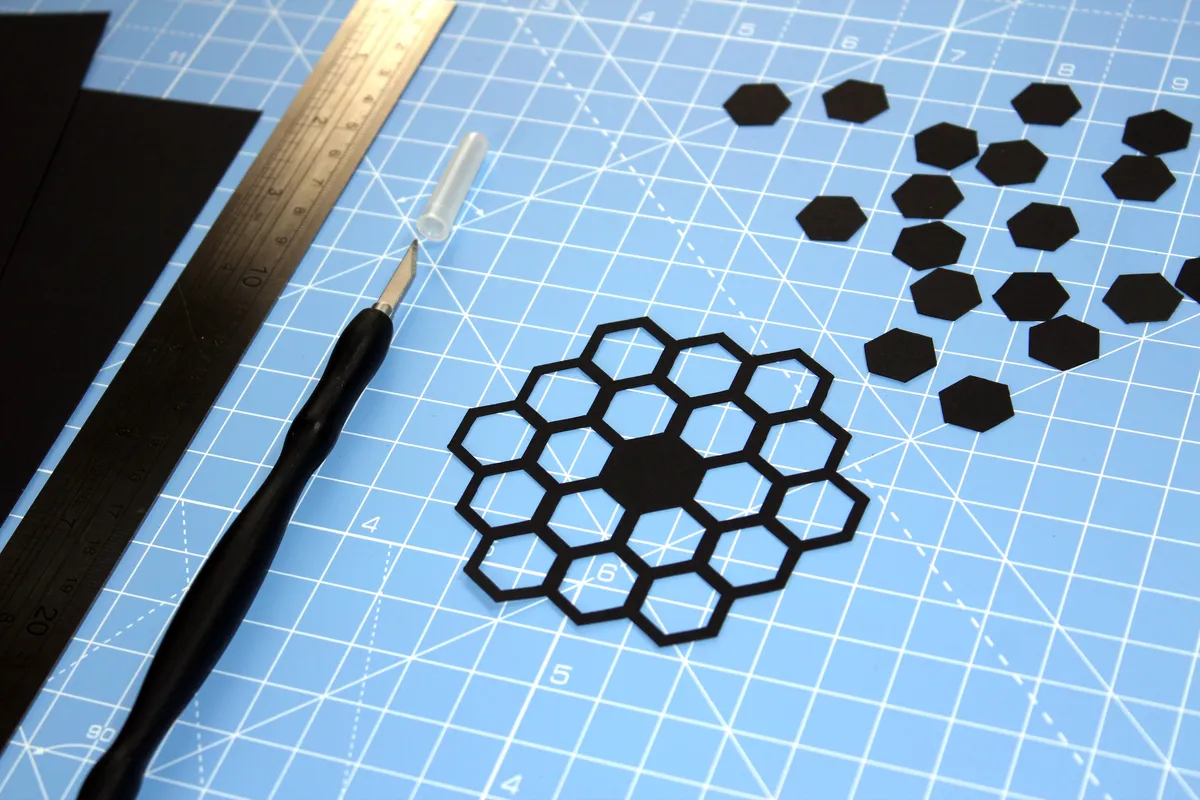
Using a craft knife and a metal ruler, use the template to carefully cut A from some black card. If you don’t have a craft knife, you can use a pair of small scissors with a fine blade, like nail scissors. Alternatively, you can use an electronic cutting machine if you have one.
Step 4
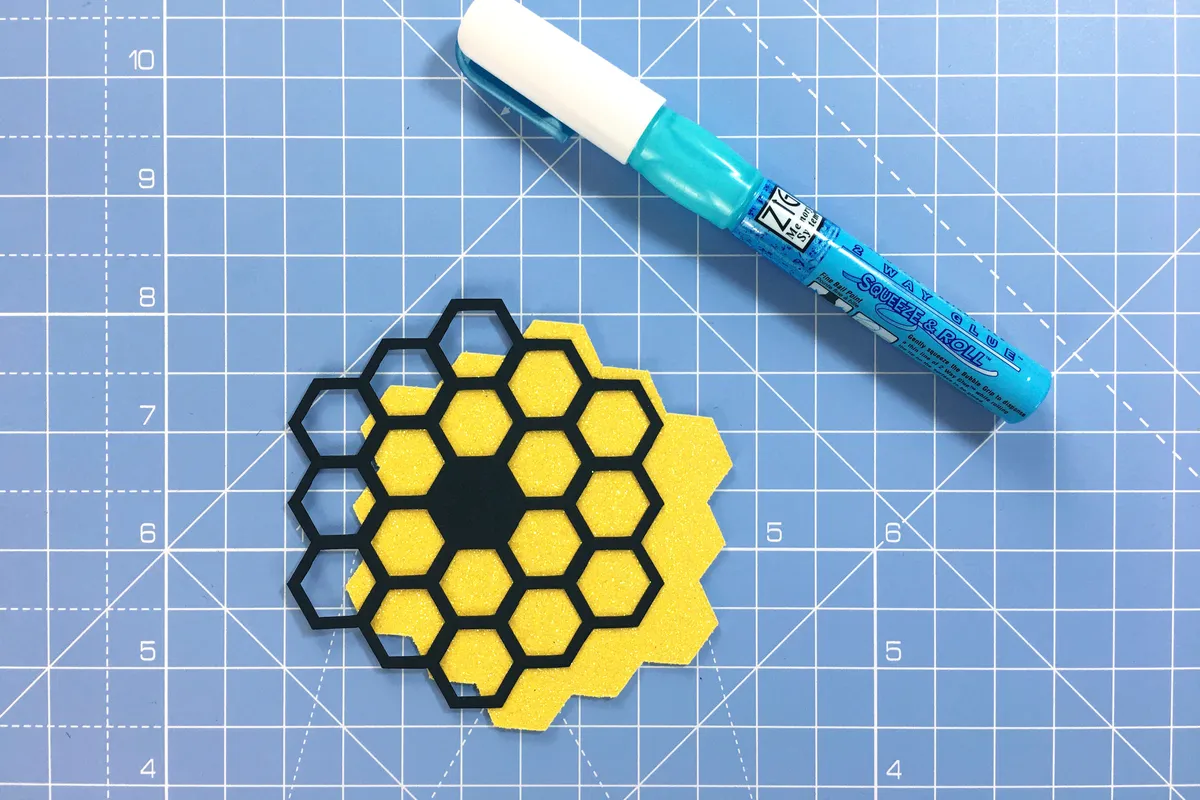
Using PVA glue, stick A onto B. Wet glue, like PVA, is ideal for glueing onto card that has a texture (if you’re using glitter card, for example). You can get PVA glue in glue pen form (pictured), which is handy when you're working with small areas of card. Otherwise, a glue stick is fine for ordinary smooth card.
Step 5
Glue C to the back of B to give your bauble a backing and a little extra stability. Leave it to dry before punching a hole in the top.
Step 6
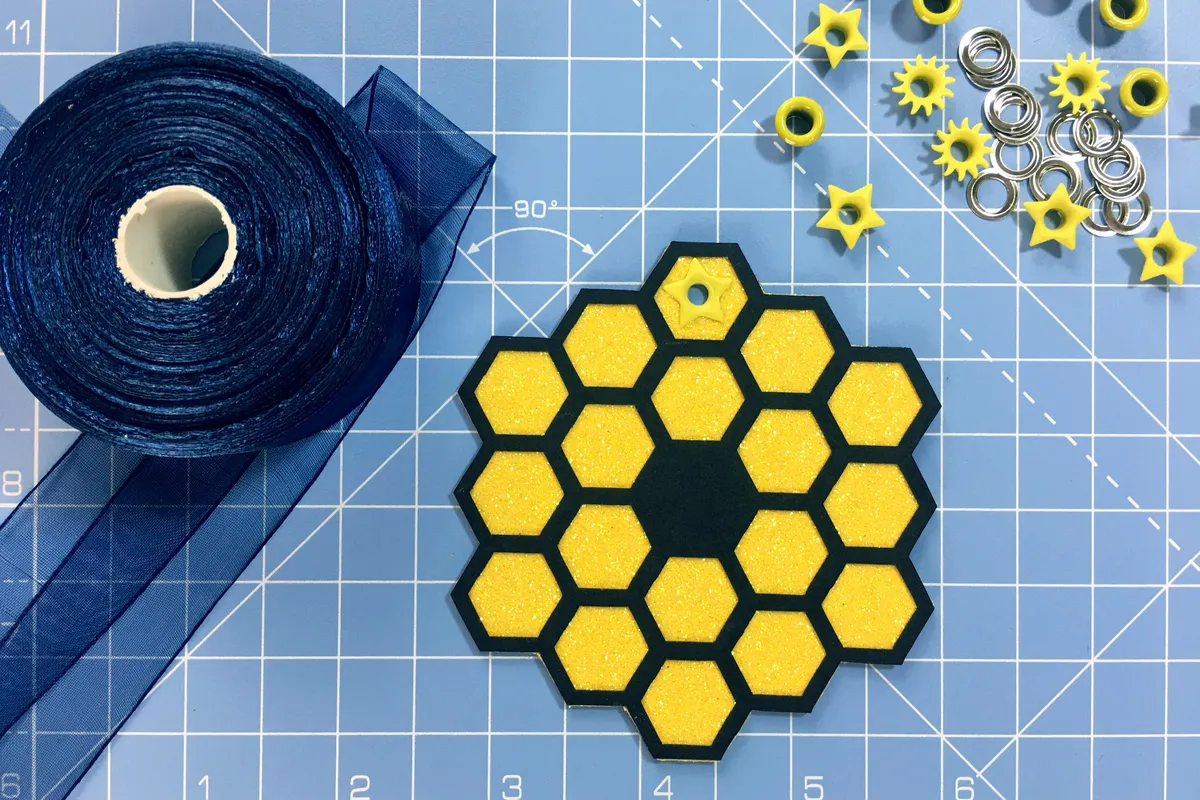
Once the glue is dry, punch a hole in the top using a hole punch. Reinforce the hole using a grommet for added durability, if you wish.
Step 7
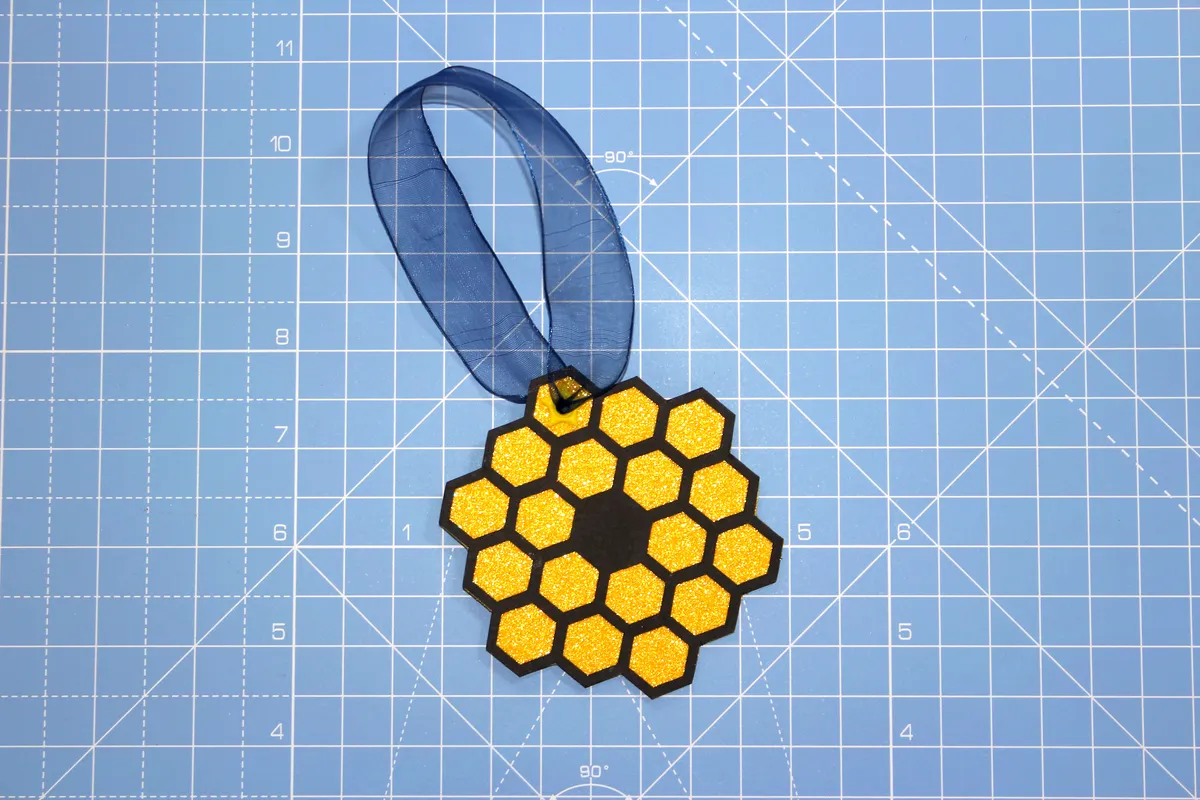
Finally, thread some ribbon (or similar) through the hole, and tie a knot in it to secure it on your bauble.
Discover more DIY ideas:

